
 F13 Handbook
DNS Records
Use these DNS records when you are setting up a new domain with MXroute email hosting.
Attention
Depending on which server is hosting the specific domain you’re adding, you may need to change the mx01 referenced below to a different value.
Check with Tristan if you need clarification.
Setting DNS Records
Set these records in the DNS provider for the domain you’re setting up.
Type |
Host |
Value |
Priority |
|---|---|---|---|
TXT |
|
||
MX |
|
|
10 |
MX |
|
|
20 |
TXT |
|
|
|
TXT |
|
|
|
TXT |
|
Domain Verification
Before adding a domain in MXroute, we need to add a verification TXT record to prove we control the domain.
Log in to the control panel and navigate to the DNS page.
Scroll down the page until you find the Domain Verification Key section.
Copy the verification key. It will look like
_da-verify-a1b2c3....In your DNS provider, create a new
TXTrecord with verification key.
DKIM Key
Each domain has its own individual DKIM record. To find the DKIM key for your domain:
Tip
You need to set up the new domain in the MXroute panel before you can find your DKIM key.
Log in to the control panel and navigate to the DNS page.
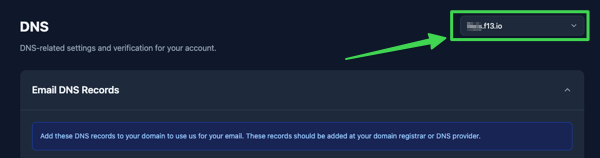
Make sure you have the proper domain selected, using the dropdown in the top right corner:
Scroll down until you see the DKIM Record. Its value will be something like
v=DKIM1; k=rsa; p=a1b2c3....Copy the full key using the
copy button, and paste it in your DKIM DNS record (described in the table above).